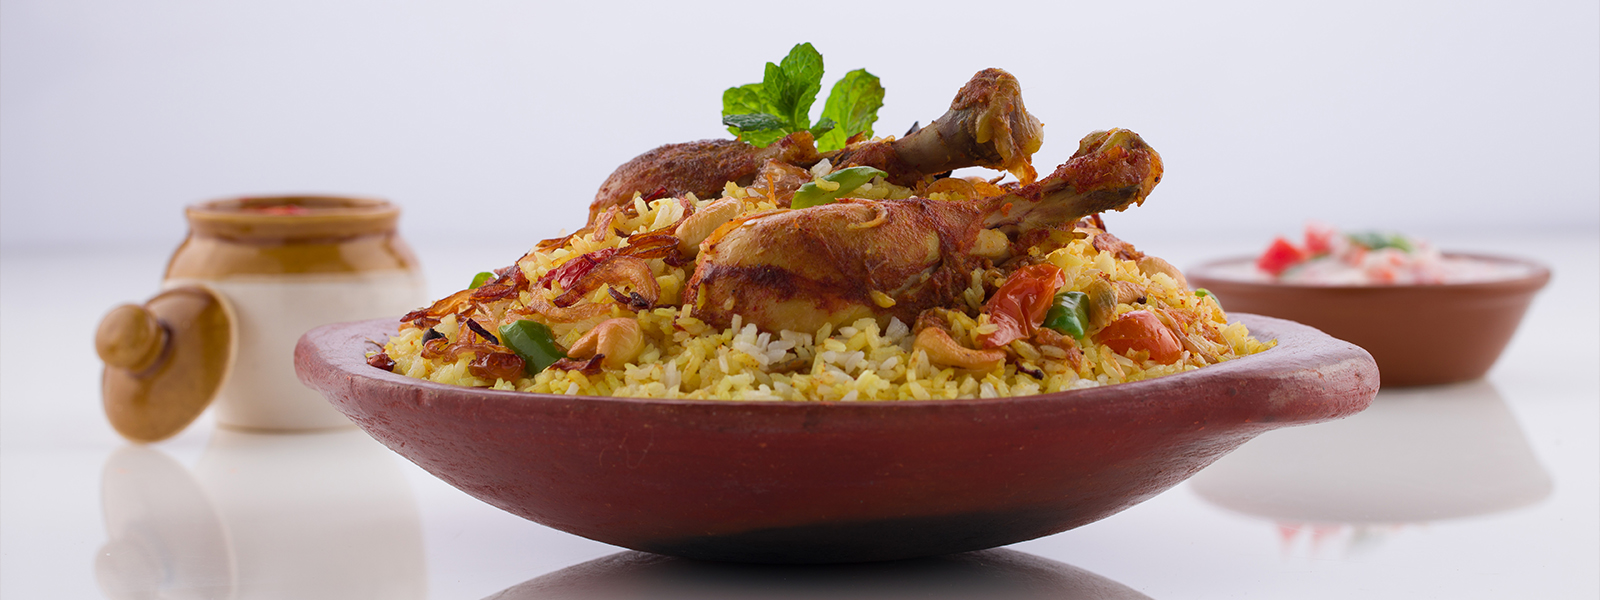

Hyderabadi chicken biryani is not just a dish; it’s an experience. Rich with flavour, fragrant with spices, and layered with love, this royal delicacy from Hyderabad has fans across the globe. Whether you’re a seasoned cook or trying biryani for the first time, this guide will teach you how to make Hyderabadi chicken biryani at home using the authentic dum method.
From marination to layering to final dum cooking, everything is broken down step by step for Indian kitchens. So grab your pot, let’s make the best Hyderabadi biryani in Hyderabad style right at home.
Pro Tip: To learn authentic dum cooking techniques, consider a short-term culinary diploma that focuses on regional Indian dishes.
Hyderabadi biryani is famous for its slow dum cooking technique, where raw marinated chicken is layered with partially cooked rice and sealed in a pot. As it cooks on low heat, the flavours meld together, creating magic in every grain.
Unlike Kolkata or Lucknowi biryani, the authentic Hyderabadi biryani doesn’t use rose water or kewra as strongly, but focuses on spiced Hyderabadi biryani masala, saffron milk, fried onions, and fresh herbs. This is what sets a true Hyderabadi chicken biryani recipe apart.
Main Ingredients:
Chicken – 500 gms (preferably bone-in for more flavour)
Basmati Rice – 200 gms, soaked for 30 mins
Curd (Yogurt) – 150 gms
Ginger-Garlic Paste – 1 tbsp
Fried Onion – 2 large onions (thinly sliced & fried till golden)
Coriander Leaves – 25 gms, chopped
Mint Leaves – 25 gms, chopped
Ghee – 1 tbsp
Red Chilli Powder – 1.5 tsp
Turmeric Powder – 1/2 tsp
Coriander Powder – 1 tsp
Whole Spices – Bayleaf, Star Anise, Cloves, Black Cardamom, Green Cardamom, Cinnamon, Black Cumin Seeds
Lemon Juice – 1 no.
Rose Water & Kewra Water – 10 ml each
Saffron Strands – few, soaked in 20 ml warm milk
Salt & Oil – as needed
For Hyderabadi Biryani Masala:
Dry roast and grind: Bayleaf (3–4), Star Anise (2), Black Cardamom (1), Black Peppercorns (8–10), Cloves (8–10), Fennel (1 tsp), Cumin Seeds (1 tsp), Green Cardamom (8–10)
Soak basmati rice in water for 30 minutes. In a large pot, bring water to a boil with salt, oil, and whole spices. Add soaked rice and cook till 70% done. Drain and set aside.
Pro Tip: Use aged basmati rice for the best dum biryani recipe.
Dry roast the listed whole spices until aromatic. Cool and grind into a fine powder. This homemade Hyderabadi biryani masala will elevate your biryani to the next level.
In a bowl, combine chicken, curd, ground biryani masala, red chilli powder, turmeric, coriander powder, ginger-garlic paste, fried onions, salt, lemon juice, rose water, kewra water, mint and coriander leaves. Mix well and marinate for at least 30 minutes (overnight is best).
Grease a heavy-bottomed handi. Spread the marinated chicken at the bottom, layer the semi-cooked rice on top, then drizzle with saffron milk, fried onions, ghee, and herbs.
Seal the pot with dough or a tight lid. Cook on high flame for 5 minutes, then on low for 30 minutes. Rest for 10 minutes before opening. Fluff gently and serve hot.
Serve with cucumber raita, onion salad, or mirchi ka salan. Add boiled eggs or gulab jamun for a complete festive experience.
Serving Suggestions
Pro tip: Love biryani? Build your skills with expert-led cooking courses in Delhi that specialise in traditional Indian recipes.
Can I make this biryani with boneless chicken?
Yes, but bone-in chicken gives deeper flavour. Boneless is faster and great for kids.
How long should I marinate the chicken?
At least 30 minutes. For best results, marinate overnight.
What is dum cooking in biryani?
Dum is a slow-cooking method where the pot is sealed and cooked on low heat to trap steam and infuse flavour.
Can I make this biryani without saffron?
Yes, substitute with turmeric milk, but saffron adds aroma and royal colour.
Is this biryani spicy?
It’s medium spicy. Adjust chilli and biryani masala as per your preference.
Which rice is best for Hyderabadi biryani?
Aged long-grain basmati rice works best for perfect texture and aroma.
Can I cook this in a pressure cooker?
Yes, but don’t use pressure. Layer and cook on low with the lid on (no whistle) for 15–20 minutes.
What’s the difference between Hyderabadi and Lucknowi biryani?
Hyderabadi uses raw meat (kacchi style), while Lucknowi uses cooked meat (pakki style) and is milder.
Can I freeze this biryani?
Yes. Store in airtight portions and reheat gently with a splash of water or ghee.
What’s the secret to perfect biryani?
Layering, balanced masala, quality ingredients, and slow dum cooking bring authentic biryani magic.
Recipe Features
Recipe Categories
Click one of our representatives below to chat on WhatsApp or send us an email to
info@tedcoeducation.com
Counselor
Bakery and Pastry Courses
Counselor
Culinary Arts Courses
Click one of our representatives below to chat on WhatsApp or send us an email to
info@tedcoeducation.com
Counselor
Bakery and Pastry Courses
Counselor
Culinary Arts Courses