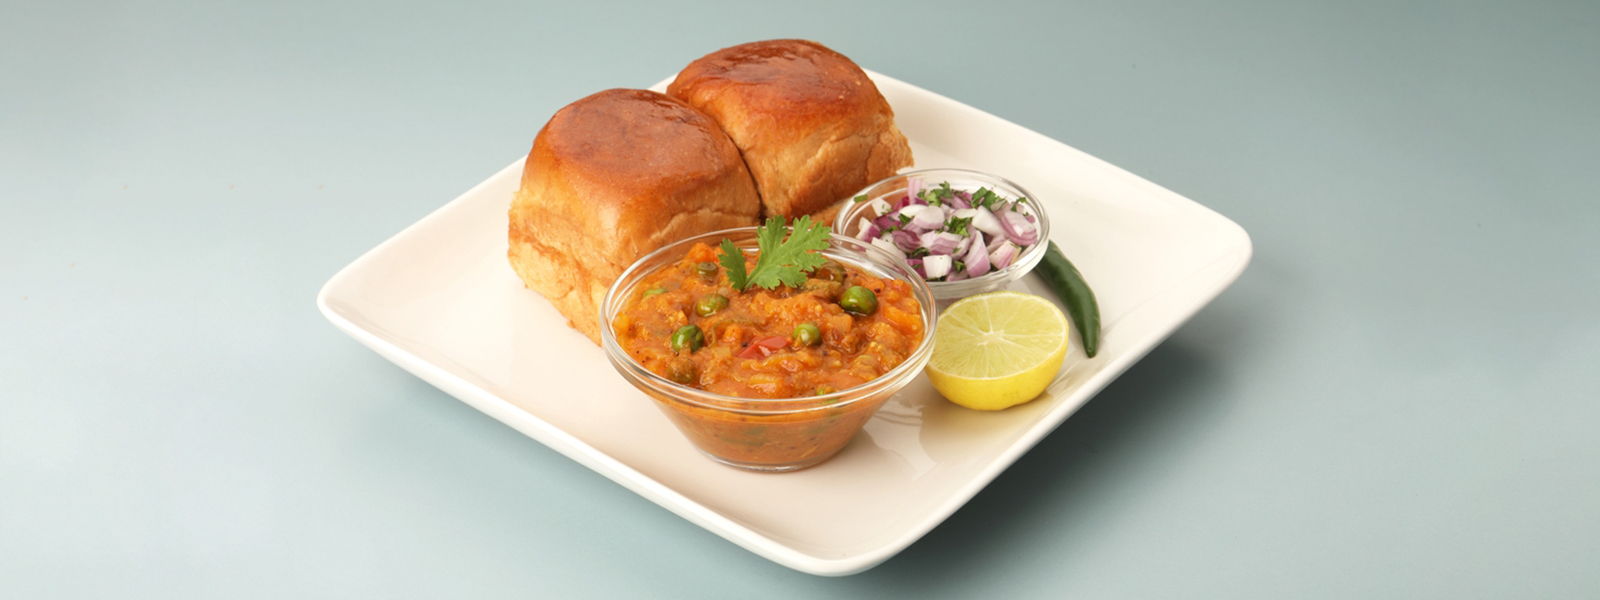

When it comes to iconic Indian street food, few dishes can compete with the rich, buttery, and spicy flavours of pav bhaji. A staple from the bustling streets of Mumbai, this dish has found its way into restaurants and home kitchens across India. But nothing beats the satisfaction of preparing a Mumbai pav bhaji recipe in your kitchen.
In this guide, we'll show you step-by-step how to make pav bhaji at home, using simple ingredients and techniques that recreate the authentic street-style taste.
Pro tip: You should check our courses if you are looking for the best diploma in culinary arts.
Pav Bhaji is a delicious combination of two components:
Originally invented as a quick meal for textile workers in Mumbai, pav bhaji has now become a beloved comfort food, perfect for brunch, snacks, or even dinner.
For authentic flavour, making your pav bhaji masala at home is highly recommended. Here’s the spice mix recipe:
Dry roast all the whole spices (except dry mango powder) until aromatic. Let them cool, grind into a fine powder, and mix with dry mango powder. Store in an airtight jar for future use.
This mix is the heart of the street style pav bhaji texture.
This forms the rich base of your bhaji.
The slow mashing and cooking infuse deep, layered flavours, similar to how street vendors prepare the Mumbai pav bhaji recipe.
Your bhaji is now ready!
This method gives you an authentic street-style pav bhaji experience.
For special occasions, serve with lassi, chaat masala sprinkled onions, and even some green chutney for extra zing.
Now that you know how to make pav bhaji at home, it’s time to bring Mumbai’s favourite street food to your kitchen. With the right vegetables, a good pav bhaji masala, and plenty of butter, you can recreate the same magic of street stalls in a hygienic, home-cooked version.
This pav bhaji recipe is perfect for family gatherings, weekend brunches, or even a quick snack that feels like a feast. So heat that tawa, mash those veggies, and let the aroma of your homemade pav bhaji fill the air.

Centre Head & Head of Department
Yes, but homemade masala gives fresher flavour. TEDCO culinary students learn both store-bought and homemade masala techniques for authentic street-style results.
Overcooking vegetables in excess water is a common reason. TGCA advises mashing vegetables after draining water completely and adjusting consistency during simmering.
Technically yes, but it won’t taste the same. For a lighter version, use a mix of butter and oil. Butter is essential for that iconic pav bhaji recipe taste.
Use Kashmiri red chilli powder for vibrant colour without too much heat. Some vendors add beetroot for colour enhancement, a trick taught at TEDCO.
Yes, pav bhaji freezes well. Store in airtight containers for up to a month. Reheat with a splash of water and a knob of butter for fresh taste.
Loaded with vegetables, it can be healthy if butter is used moderately. TGCA also teaches whole wheat pav and low-butter variations for health-conscious versions.
Yes, pav can be baked at home using all-purpose flour and yeast. However, fresh bakery pav works well for home cooking. Butter-toasting is key.
Ideally, simmer the bhaji for 20–25 minutes after adding vegetables, mashing frequently. The longer it cooks, the richer it tastes—this is the essence of street style pav bhaji.
Recipe Features
Recipe Categories
Click one of our representatives below to chat on WhatsApp or send us an email to
info@tedcoeducation.com
Counselor
Bakery and Pastry Courses
Counselor
Culinary Arts Courses
Click one of our representatives below to chat on WhatsApp or send us an email to
info@tedcoeducation.com
Counselor
Bakery and Pastry Courses
Counselor
Culinary Arts Courses